
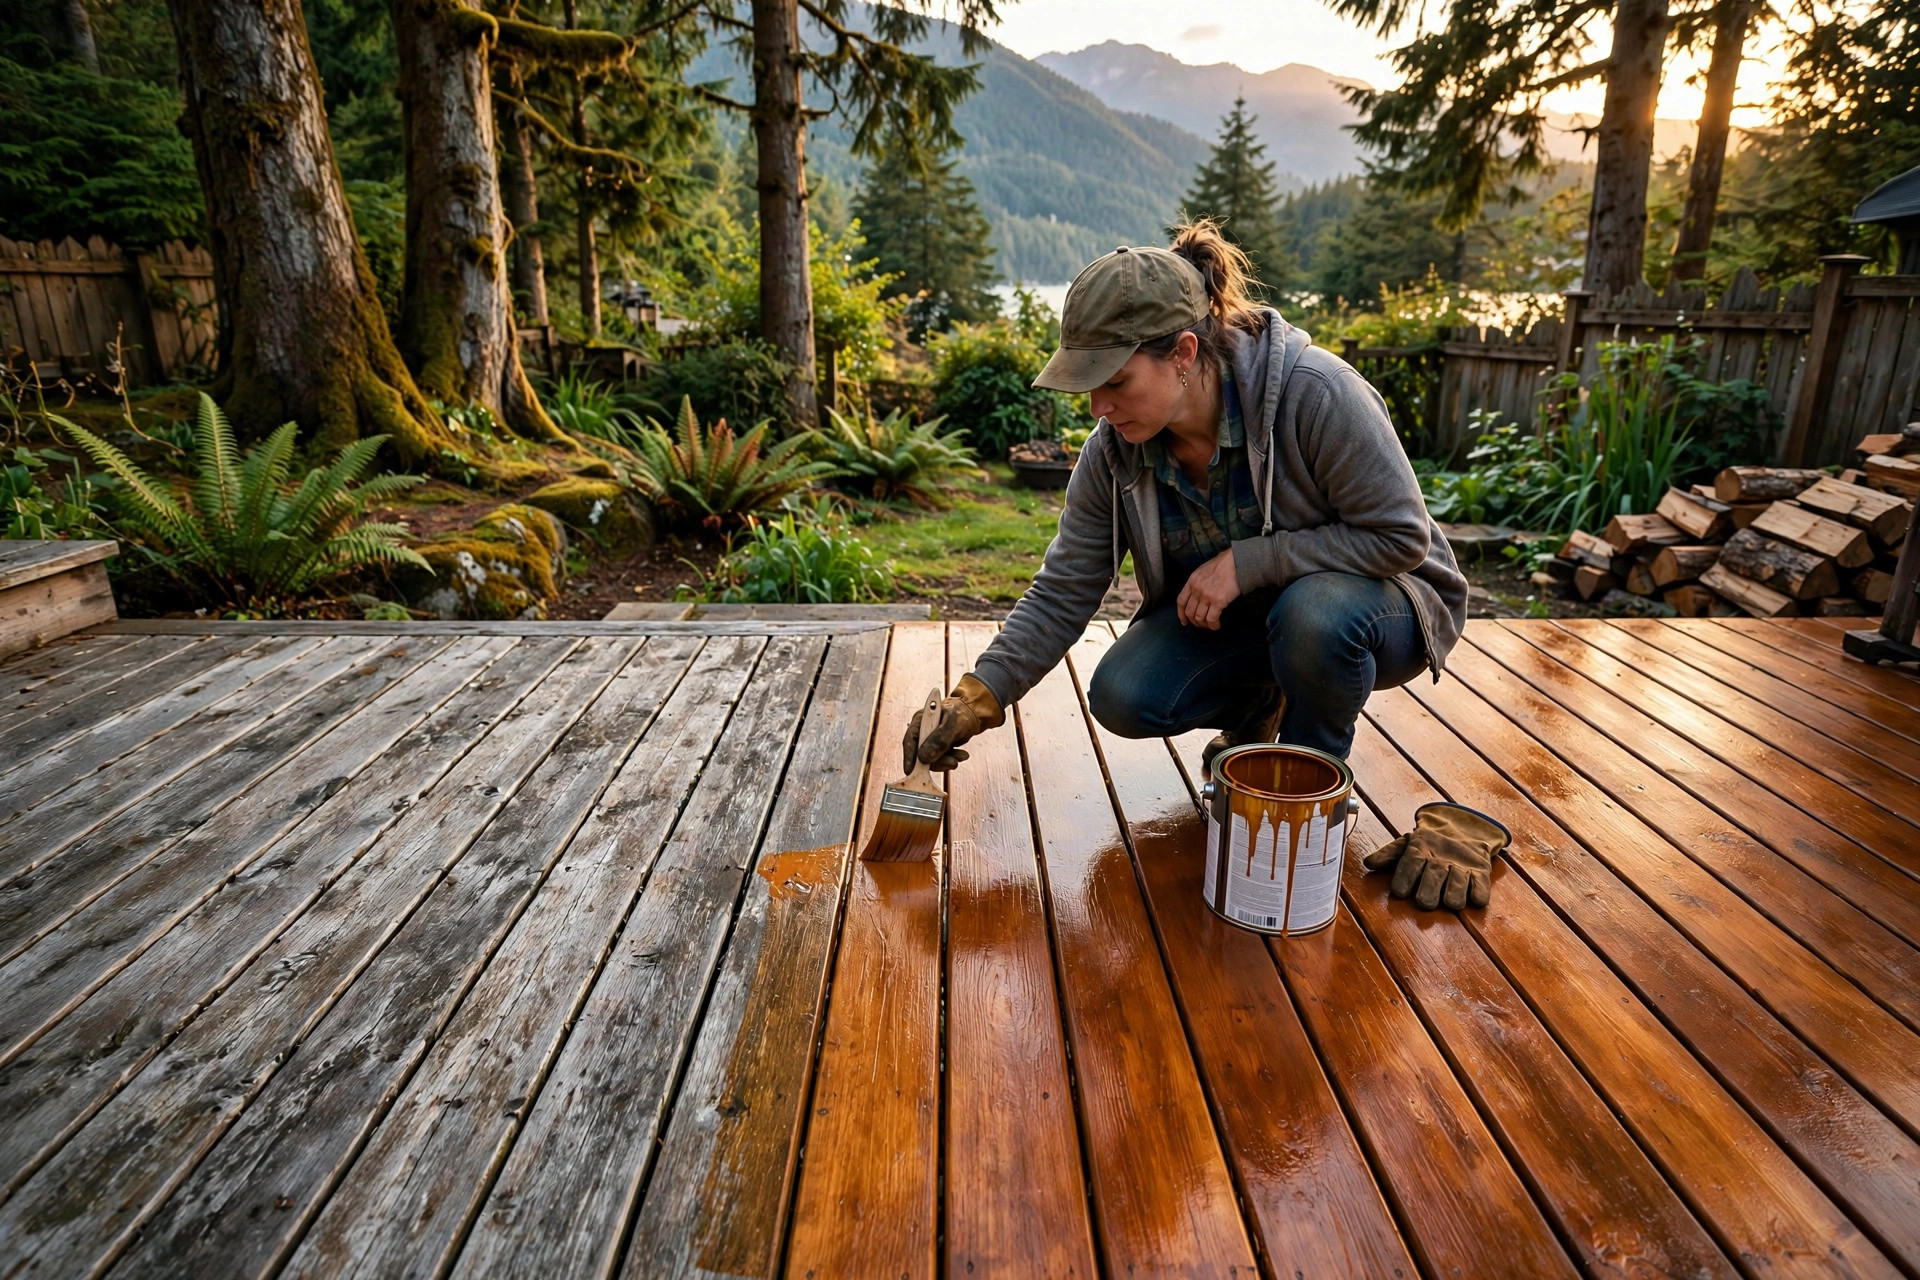
How to Stain and Seal Western Red Cedar (Step by Step)
That grey, weathered look on neglected cedar isn't rot — it's UV damage, and it's entirely preventable. Staining and sealing Western Red Cedar is one of the highest-return weekends you can spend on your home: a couple of days of work protects thousands of dollars of lumber for two to three years. Here's how to do it right, BC-style.
Why Cedar Turns Grey
Western Red Cedar's natural oils resist rot and insects, but nothing in the wood resists the sun. UV light breaks down lignin in the surface fibres, and the result is that silvery-grey patina. It's cosmetic — grey cedar is still solid wood — but UV also dries the surface, opening checks and cracks that invite real moisture damage. A stain or sealer blocks UV, repels water, and keeps the wood dimensionally stable.
When to Stain New Cedar
Fresh cedar straight from the bundle often has mill glaze — a lightly burnished surface from the planer that sheds stain like wax. If you're staining new S1S2E or S4S lumber, either let it weather for 4–8 weeks (light rain and sun open the surface) or scuff it with 60–80 grit sandpaper, then wash off the dust.
Rough sawn cedar has no mill glaze and can be stained as soon as it's dry. Either way, the wood's moisture content should be under 15% — a cheap pin meter saves a ruined finish job.
Pick Your Product: Broda and Beyond
For exterior cedar in BC, you want a finish built for our climate: heavy rain on the coast, intense UV in the Interior. This is where quality matters enormously. Cheap stains fail in a year; premium finishes go two to three on horizontal surfaces and longer on vertical ones.
We're proud to stock Broda — a Canadian-made line of premium wood finishes — including their PRO-DR series, a penetrating, water-based stain and sealer in one. Broda is low-VOC, won't peel or blister like film-forming products, and is formulated to protect Western Red Cedar specifically. A penetrating finish is the right call for cedar: instead of sitting on top of the wood like paint, it soaks in, so there's nothing to scrape when it's time to recoat.
Your options in finish type:
- Clear/natural: shows the grain fully, but offers the least UV protection — plan on recoating sooner
- Semi-transparent: the sweet spot for most BC decks and fences — grain shows through, colour enriches the wood, strong UV blockers
- Solid/semi-solid: maximum protection and hides colour variation, but hides the grain too
For decks, semi-transparent is the answer for most homeowners. For fences and siding, any of the three works — pick by look.
What You'll Need
A stiff broom or leaf blower, a wood cleaner/brightener (oxygen bleach-based is fine — avoid chlorine bleach, it destroys wood fibres), a pump sprayer or brush, back-brush, painter's tape, drop cloths, and your stain. Add a moisture meter and a five-day forecast: you need no rain for 24–48 hours after application and daytime temperatures above 10°C.
Step 1: Clean the Wood
Remove furniture, sweep, and wash the surface with wood cleaner per the label directions. Scrub with the grain — a stiff brush, not a pressure washer cranked to 11. Pressure washing cedar is the single most common way to ruin a finish job: it tears the soft earlywood and leaves the surface furry. If you must pressure wash, stay under 1,200 PSI, keep the tip 12+ inches away, and use a fan pattern.
Step 2: Let It Dry Thoroughly
Cedar must be dry — moisture content under 15% — before stain goes on. In the Lower Mainland, that can mean 2–4 dry days after washing. Test with the meter in a shaded spot; it's always wetter than the sunny areas.
Step 3: Mask and Prep
Tape off the house, concrete, and anything you don't want stained. Penetrating stains wipe off fresh mistakes with a rag and mineral spirits, but prevention is easier than cleanup.
Step 4: Apply — Thin Coats, Back-Brushed
Work one section at a time, keeping a wet edge. Apply a thin coat with a brush, roller, or sprayer — and if you spray, back-brush immediately: drag a dry brush through the wet stain to work it into the grain and even it out. Back-brushing is the difference between a professional result and a blotchy one.
Two thin coats beat one thick coat. Let the first coat absorb fully (an hour or two for penetrating finishes), then apply the second while the wood is still receptive. Lap marks happen when you go back over a dried edge — work fast, work in shade, and start early in the morning.
How Often to Recoat in BC
- Decks (horizontal): every 2–3 years; sun-exposed Interior decks every 2
- Fences and siding (vertical): every 3–5 years
- Rough sawn: drinks more product up front, but the finish bonds deeply
Recoating a penetrating stain like Broda is refreshingly easy: clean, brighten, and apply a single maintenance coat. No scraping, no stripping, no drama.
Mistakes to Avoid
- Staining wet wood — the #1 cause of peeling and blotching
- Pressure washing too hard — furred cedar drinks twice the stain and looks rough
- One thick coat — pools, gets tacky, peels; two thin coats always win
- Ignoring the forecast — rain within 24–48 hours washes uncured stain right off
- Skipping end grain — seal cut ends generously; end grain absorbs water fastest
The Payoff
A stained cedar deck in rich honey tones, a fence that still looks new at year five — that's what the right finish buys you. Cedar is an investment; a quality stain protects it like one.
Ready for the weekend project? We stock Broda PRO-DR finishes and every cedar board you'll ever need — 1x4 through 6x6, rough and smooth. Shop the finishes, shop the lumber, and give your cedar the decade it deserves.