
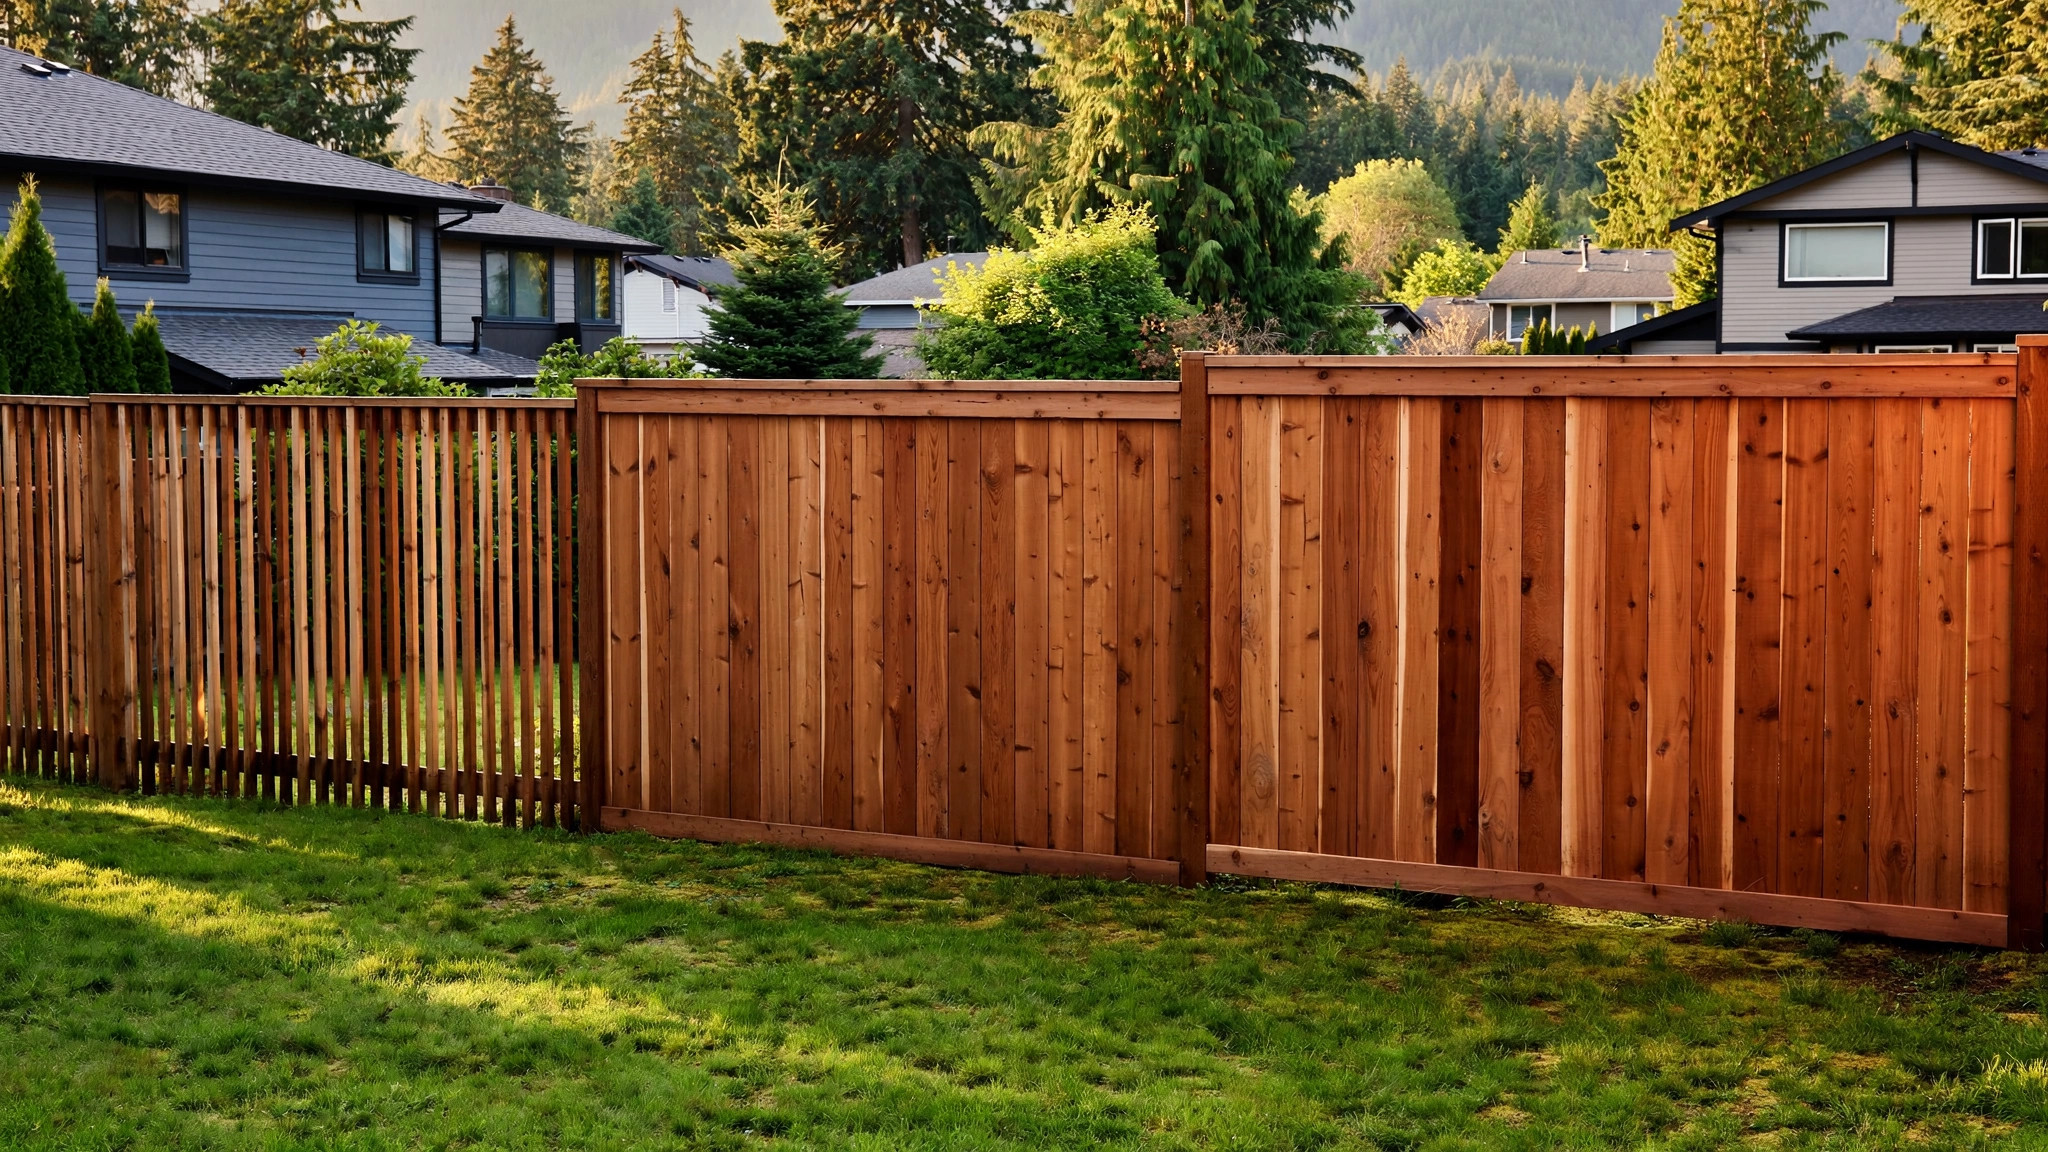
Choosing Cedar Fence Boards: 1x4 vs 1x6 vs 1x8 (and Rough vs Smooth)
Picking fence boards sounds simple until you're standing in the yard staring at a price list: 1x4, 1x6, 1x8, rough, S1S2E… Here's how each choice actually affects your fence — your privacy, your wallet, and how it looks from the street.
First: Nominal vs Actual Size
Lumber sizes are named for what they were before milling, not what they are now. A "1x6" cedar fence board is actually about 3/4" thick and 5-1/2" wide. A 1x4 is about 3-1/2" wide, and a 1x8 about 7-1/4" wide. Keep those real widths in mind — they drive the coverage math below.
The 1x6: BC's Default Fence Board
If you've seen a cedar fence in the Lower Mainland, chances are it was built from 1x6 boards. It's the sweet spot: wide enough to keep board count (and labour) reasonable, narrow enough to look refined. A 1x6 gives roughly 5-3/4" of coverage per board once you leave a small expansion gap, so a 10-foot run of fence needs about 21 boards.
Choose 1x6 if you want the classic look, straightforward pricing, and the widest availability. For most side yards and back fences, this is the right call and it isn't close.
The 1x4: Modern, Horizontal, and Precise
The 1x4 board is the darling of modern horizontal fences — the kind you see in front of new builds in Langley, Surrey, and Kelowna. Installed horizontally with small gaps, 1x4s create that crisp, architectural slatted look.
The trade-off is quantity. At roughly 3-3/4" of coverage per board, a 10-foot run needs about 32 boards — over 50% more boards than 1x6, which means more fasteners, more labour, and a higher total cost. Worth it for the look; just budget for it.
The 1x8: Bold, Rustic, and Fast to Install
A 1x8 covers about 7-1/2" per board, so that same 10-foot run needs only 16 boards. Fewer boards, fewer fasteners, faster build. The wide boards give a bold, rustic character that suits acreages, rural properties, and ranch-style fences around the Okanagan.
Watch for cupping: wider boards move more with moisture changes. Buy good, dry stock, keep a consistent small gap, and use two fasteners per board per rail (three on 1x8s isn't overkill).
Quick Coverage Cheat Sheet (10-Foot Run)
1x4 — real width 3-1/2", ~32 boards per 10 ft. Best for: horizontal modern fences.
1x6 — real width 5-1/2", ~21 boards per 10 ft. Best for: classic vertical fences (the default).
1x8 — real width 7-1/4", ~16 boards per 10 ft. Best for: rustic/ranch style, fast installs.
Add 5–10% extra for cuts, knots, and the boards you'll reject — every fence builder does this.
Rough vs S1S2E: Which Finish?
S1S2E means "surfaced one side, two edges" — one face is planed smooth, the rest is left rough-ish. The smooth face looks cleaner, takes stain more evenly, and is the standard choice for fences where appearance matters. Most BC fence boards sold as smooth are S1S2E.
Rough sawn has a textured, rustic surface on all faces. It suits rural properties and "West Coast rustic" designs, and its rougher surface actually drinks stain deeper, which some finishers prefer for longevity. It's generally a bit cheaper than surfaced stock.
Rule of thumb: smooth S1S2E for suburban and modern fences, rough for rustic and acreage fences. Either way, stain all faces before installation if you can — it doubles the finish life.
Length: Keep It Simple at 6 Feet
Standard cedar fence boards come in 6-foot lengths, matching the most common fence height in BC municipalities. Taller privacy fences (many cities allow up to 6'6" in the rear yard — check your local bylaws) may need 8-foot boards cut down. Buying the right length up front saves waste and money.
Gaps, Shrinkage, and Spacing
Cedar shrinks as it dries — a board installed tight in March can show a 1/4" gap by August. Leave a small, consistent gap (about 1/8" to 3/16") between boards, or use a spacer block as you go. A dry, stored board will barely move; a board installed wet will shrink and reward you with uneven gaps. When in doubt, ask how the stock you're buying was stored, and let it acclimatize in your yard, stickered and off the ground, for a few dry days before building. Board-on-board and shadowbox styles hide shrinkage entirely and look great from both sides — worth considering if you share the fence line with a neighbour.
Should You Stain Before or After Installation?
Whenever you can, stain your fence boards before they're hung — all four faces plus the cut ends. The ends drink water first and rot first, and you can't reach them once the board is nailed to the rails. Lay the boards across sawhorses, stain both faces, let them cure, then build. It's a few extra hours up front that adds years to the fence. A single maintenance coat every three years or so keeps it looking new.
Posts and Rails: Don't Forget the Skeleton
Your boards are only as good as what's behind them. Use 4x4 or 6x6 cedar posts set in concrete below the frost line, with 2x4 rails (two for a 6-foot fence, three for taller). Galvanized or stainless fasteners only — black streaks from cheap fasteners are the most common fence regret we hear about.
Ready to build? Browse our 1x4, 1x6, and 1x8 Western Red Cedar fence boards in rough and S1S2E — in 6-foot lengths and more — and get the fence your street will notice.