
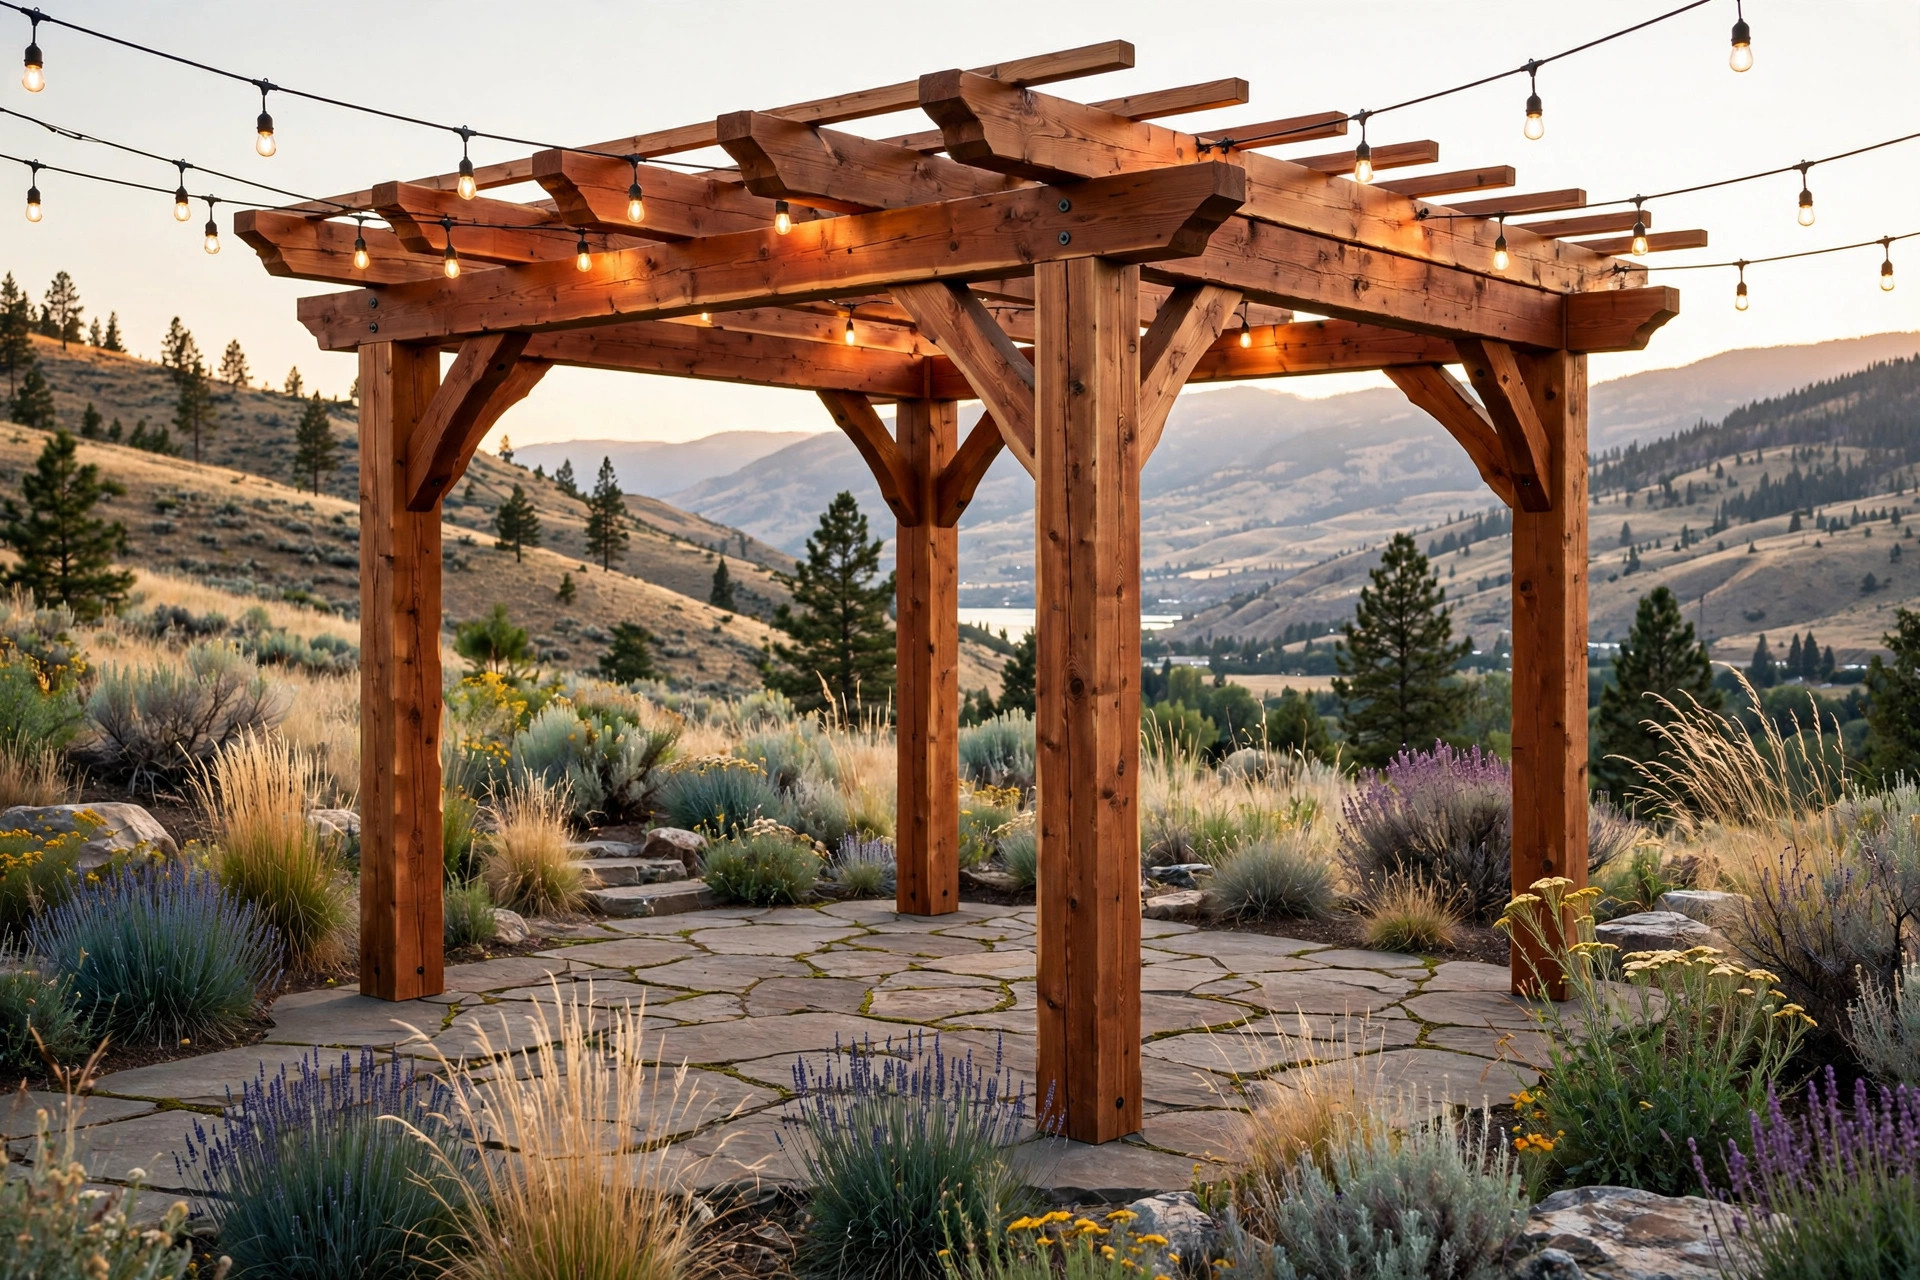
Building a Cedar Pergola: The Lumber Sizes You Need
A cedar pergola turns a flat BC backyard into the best room of the house — shade in the Okanagan heat, rain-filtered evenings on the coast, and a structure that only gets better looking with age. But a pergola is basically a sky-facing roof frame: get the lumber sizes wrong and it sags, sways, or fails. Here's how to spec it right.
Start With the Footprint and Height
Most backyard pergolas land between 10x10 and 12x16 feet. Before you buy a single board, decide three things: footprint, height (8 feet is typical; 9 adds grandeur), and whether it stands alone in the yard or attaches to the house on one side. Every size below flows from those choices.
Post spacing decides everything else. The further apart your posts, the beefier your beams and rafters must be. For most builds, keep post spans under 12 feet.
Posts: 4x4 vs 6x6 — Go Bigger Than You Think
This is the most common pergola mistake: undersized posts. A 4x4 is acceptable only for small pergolas (under 10x10) with modest spans, and even then it looks thin in proportion. A 6x6 post — 5-1/2 x 5-1/2 inches actual — gives you proper visual heft, real resistance to twisting (kiln-dried cedar 6x6s stay straighter than 4x4s), and the structural margin for hanging plants, shade sails, or a string of patio lights in a breeze.
Our default recommendation: 6x6 posts, 8 or 10 feet long depending on roof height and how deep you're setting them. On longer pergolas of 14–16 feet, 6x6s aren't optional, they're required. We stock cedar 4x4 and 6x6 in S4S and rough finishes — for a pergola, S4S is the finished look, rough is the ranch look.
Beams: The Muscle Across the Top
Beams carry the rafters across the longest span. Standard pergola practice:
- 2x8 beams for spans up to about 10 feet
- 2x10 beams for spans of 10–12 feet
- Doubled beams (one on each face of the posts) for spans beyond 12 feet or for a premium look
A classic and attractive detail: let the beams overhang the posts by 12–18 inches, with an ogee or chamfer cut on the ends. That overhang is what makes a pergola look designed rather than just built.
Rafters: The Shade Layer
Rafters run across the beams, typically spaced 12–24 inches apart (closer spacing = more shade). For spans up to 10 feet, 2x6 rafters work; for 10–12 feet or heavy snow country (looking at you, Interior), step up to 2x8s. Remember that while a pergola carries no roof, it does carry snow load on those rafters in a Kelowna January. Don't skimp in snow country.
Overhang rafters past the beams by about 12 inches each side, and cut decorative tails to match the beam ends.
Purlins (Top Slats): The Finishing Layer
Crossing the rafters on top, purlins are the thin layer that casts the striped shadow patterns a pergola is famous for. Use 2x2 or 2x4 pieces (2x2 laid flat is classic; 1x4 works too) spaced 6–12 inches apart. Dense purlins = real shade; sparse purlins = dappled light. If you want near-full shade for Okanagan summers, this is the layer to double up.
Sample Cut List: 12 x 10 Pergola, 6x6 Posts
- 4 posts: 6x6 x 10 ft (buried or bracketed, cut to height in place)
- 2 beams: 2x10 x 14 ft (12-ft span plus overhangs), or doubled 2x8s — 4 pieces
- 7 rafters: 2x6 x 12 ft (10-ft span plus overhangs), spaced ~24" apart
- 8–10 purlins: 2x2 x 14 ft or 1x4 x 14 ft, spaced ~12" apart
Adjust counts to your dimensions, and add 10% for mistakes and ugly grains.
Footings and Hardware: The Invisible Essentials
BC frost heave is real — in the Interior, get below the local frost depth (often 3–4 feet); on the mild coast, 18–24 inches is common. Options: concrete pier blocks, sonotubes with galvanized post bases, or full concrete footings. Modern best practice is a galvanized post base holding the cedar slightly off the concrete — cedar sitting in a puddle on concrete wicks water at end grain.
Use galvanized or stainless structural screws or bolts through the beam-post connections — never just toe-nailed scabs. If your pergola stands over a patio or pool deck where people gather, check whether your municipality requires a permit for structures over 10 m² — many BC cities do.
Finishing: Stain Everything, Before Assembly
Stain and seal all six faces of every board before you assemble — end grain and beam tops are the first places water attacks. A penetrating finish like our Broda line is ideal for pergola stock. On the ground, you'll also spot twisted or crowned boards before they're 9 feet in the air: crown up on rafters and beams, always.
Optional: Shade Covers and Roof Panels
If you want real rain shelter under your pergola — the kind that keeps patio furniture dry through a November downpour — you can add a translucent polycarbonate roof over the purlins. Slope it slightly for drainage and leave a ventilation gap at the ridge so summer heat escapes. One trade-off: roof panels add wind and snow load, so size your beams and footings accordingly, and check with your municipality, since a roofed pergola may count as an accessory structure for permit purposes.
Bring Us Your Sketch
Cedar pergolas are one of our favourite projects to spec because the material list is simple and the result transforms a yard. Browse our 6x6 and 4x4 cedar posts, 2x material, and Broda finishes — or send us your footprint and we'll build the full cut list for you, no charge.